Marine Wiring Done Right: The End of Electrical Gremlins
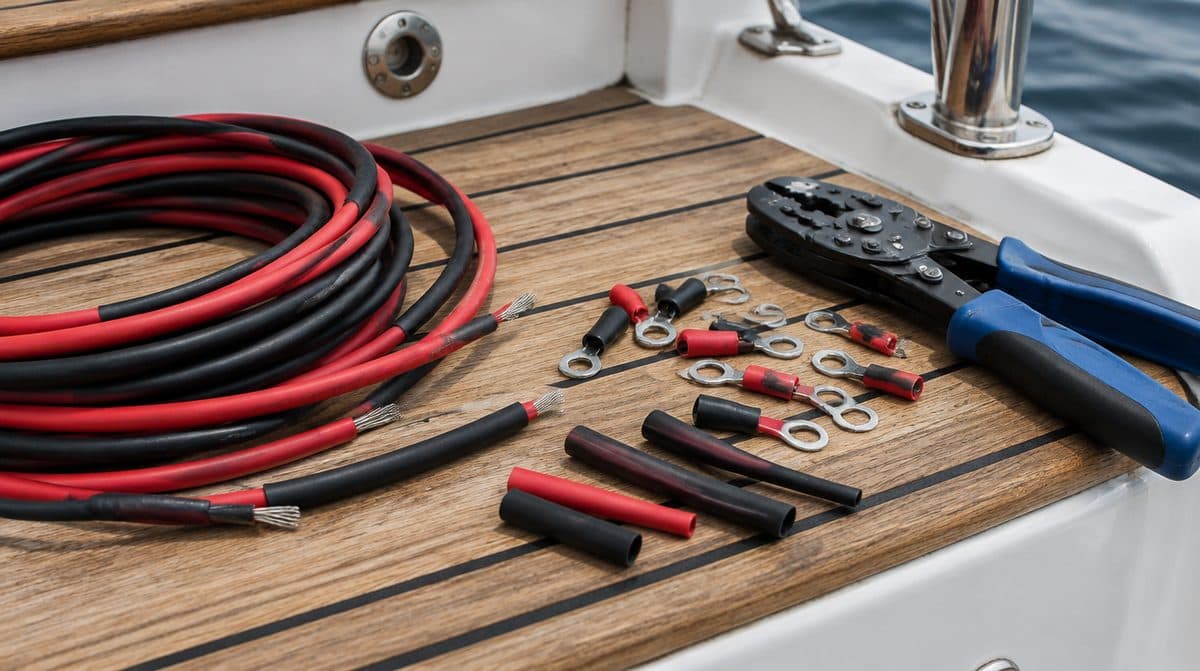
Tinned wire, heat-shrink terminals, and proper crimps: the end of flickering gauges and electrical gremlins.
The gauge that flickers and the light that works only sometimes almost always trace back to wire and connections, not the device itself. Boaters replace pumps and curse their electronics for a whole season before somebody finally opens a panel and finds a green, crusty crimp hiding behind the problem. Learn to wire a boat properly and you kill most electrical gremlins before they are born.
Why boats are brutal on wiring A boat combines everything wire hates. Salt air finds its way into every locker and console, and salt loves to creep into a connection and start corrosion that spreads up the wire strand by strand. Vibration from the engine and from wave impact works connections loose and fatigues conductors. Heat cycles make everything expand, contract, and sweat. A connection that would live for decades behind drywall in your house might survive only a few seasons in a transom splashwell. That is why marine wiring has its own materials and techniques, and why shortcuts that work fine in a car come back to haunt you on the water.
Use tinned marine wire Marine-grade wire is tinned (copper coated with tin) to resist corrosion, and stranded for flexibility and vibration resistance. Solid or untinned automotive wire corrodes and fails on a boat.
Here is the why. Bare copper exposed to salt air oxidizes, turns green, and the corrosion wicks up inside the insulation far past anything you can see. As the strands corrode, resistance climbs and the circuit behaves exactly like the flickering gauge that opened this guide. The tin coating on each strand blocks that process. Stranding matters just as much: solid wire work-hardens under vibration and eventually cracks, while fine strands flex endlessly without complaint. Quick field check: strip a piece and look at the strands. Silver means tinned marine wire. Shiny copper means automotive wire, no matter how good the price was.
Size by amperage and length Wire gauge must handle the current AND the round-trip distance without excessive voltage drop. Longer runs need thicker wire. Undersized wire overheats and causes dim electronics and fire risk.
The round-trip part is what trips people up. Current flows out to the device on the positive wire and back to the battery on the negative, so a pump mounted 15 feet from the battery is really a 30 foot circuit. A 12V system has very little voltage to spare, so resistance you would never notice at household voltage shows up fast as dim lights, lazy pumps, and a radio that resets when you key the mic.
Work a real example before you buy. Say you are wiring a livewell pump that sits 15 feet from the battery. Double the distance for the round trip: 30 feet. Read the pump's amp draw off its label, then run those two numbers through the voltage drop chart printed on most wire packaging, or any wire size calculator. If the answer lands between two gauges, buy the thicker one; it will never be the reason a circuit fails. And remember that lower gauge numbers mean thicker wire, so 10 gauge is heavier than 16 gauge.
Connections - Use heat-shrink, adhesive-lined terminals to seal out moisture. - Crimp properly with the right tool, do not just twist and tape. - Support wire runs and protect against chafe.
Connections are where most circuits die, because a connection is where moisture gets in. Adhesive-lined heat shrink terminals solve that elegantly. After you crimp, you heat the barrel: the tubing shrinks around the wire while the glue inside melts and flows into every gap, leaving a sealed, strain-relieved joint. Taped bare terminals do the opposite: the tape traps moisture against the joint, then peels into a sticky flag within a season.
The crimp itself deserves a real ratcheting crimper, the kind that will not release until the crimp is fully formed. Pliers make loose crimps that look fine on the bench and fail under way. Match the terminal size to the wire gauge, seat the stripped wire fully into the barrel, crimp, then heat until the tubing is tight and a thin bead of adhesive shows at the edge. That bead is your proof of a sealed joint.
Route it like it has to last Installation is half the job. Run wire high in the boat where you can, out of standing bilge water. Support long runs with clamps or ties so nothing swings with the sea. Anywhere wire passes through a bulkhead or lies against an edge, protect it with a grommet, loom, or chafe guard, because fiberglass and aluminum both saw through insulation slowly and silently. Leave a drip loop before every connection so water running along the wire falls off instead of following it into the terminal. And label both ends of every wire you pull. A label takes ten seconds and saves a future afternoon of tracing.
Fuse and protect Every circuit needs proper fuse or breaker protection sized to the wire, close to the power source.
The fuse is there to protect the wire, not the device. If a wire chafes through and shorts to ground, protection opens the circuit before the insulation melts and starts a fire. Sizing and placement have rules of their own, and we walk through all of them in the fuse and breaker guide.
Signs your wiring needs attention - Green or white powder on terminals, or anywhere strands are visible. - Insulation that is stiff, cracked, or discolored near connections. - Anything that works intermittently or responds to wiggling a wire. - Warm wire or a hot electrical smell under load. Wire should never be hot to the touch.
Intermittent is the key word. Devices usually fail outright; connections fail sometimes. If a problem comes and goes with vibration, trim angle, or sea state, hunt for a bad crimp or a corroded terminal before you blame the hardware.
Mistakes to avoid - Automotive wire and hardware-store terminals. They cost less because they are built for a dry world you do not boat in. - Wire nuts anywhere on a boat. Vibration backs them off. - Sizing wire to the current alone and ignoring the length of the run. - Twisting wires together and taping them as a temporary fix. Temporary becomes permanent the moment the boat runs. - Skipping the tug test after crimping.
From the Water Tug-test every crimp you make. If it pulls loose by hand, vibration was going to pull it loose anyway. A proper crimp grips so hard that the wire will break before it pulls out of the barrel, so a firm yank costs you nothing and tells you everything about the joint you just made.
Where to Get It Everything in this guide is stocked at Boat Supplies Direct, the Nautical Network marine parts store.
In stock as this guide goes up: - Ancor 16-14 gauge heat shrink ring terminals, 100-pack - Ancor 12-10 gauge heat shrink ring terminals, 100-pack - Ancor 16-14 gauge heat shrink spade terminals, 100-pack
Browse the full range: - Shop terminals and wire - Read the full buying guide, including FAQs
More from the Wire
 Buying Guides
October 18, 2026
Starting vs. Deep Cycle: The Battery Mistake That Strands Boaters
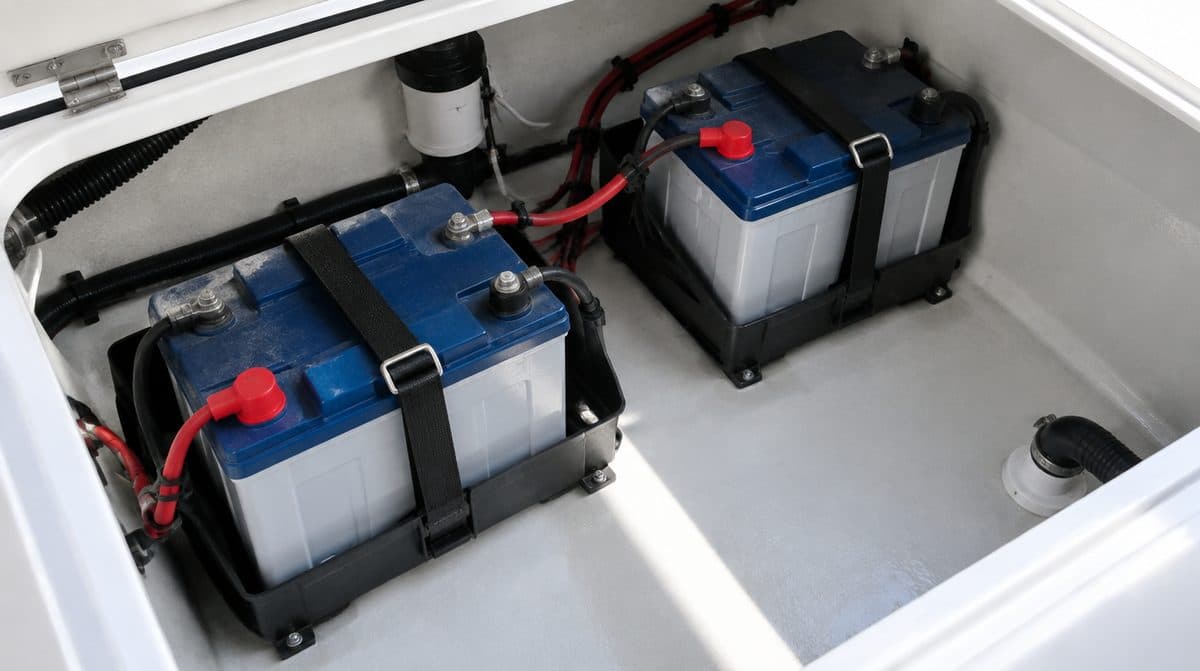
Starting, deep cycle, or dual purpose, and flooded, AGM, or lithium. How to pick the battery type that will not leave you stranded.
Read more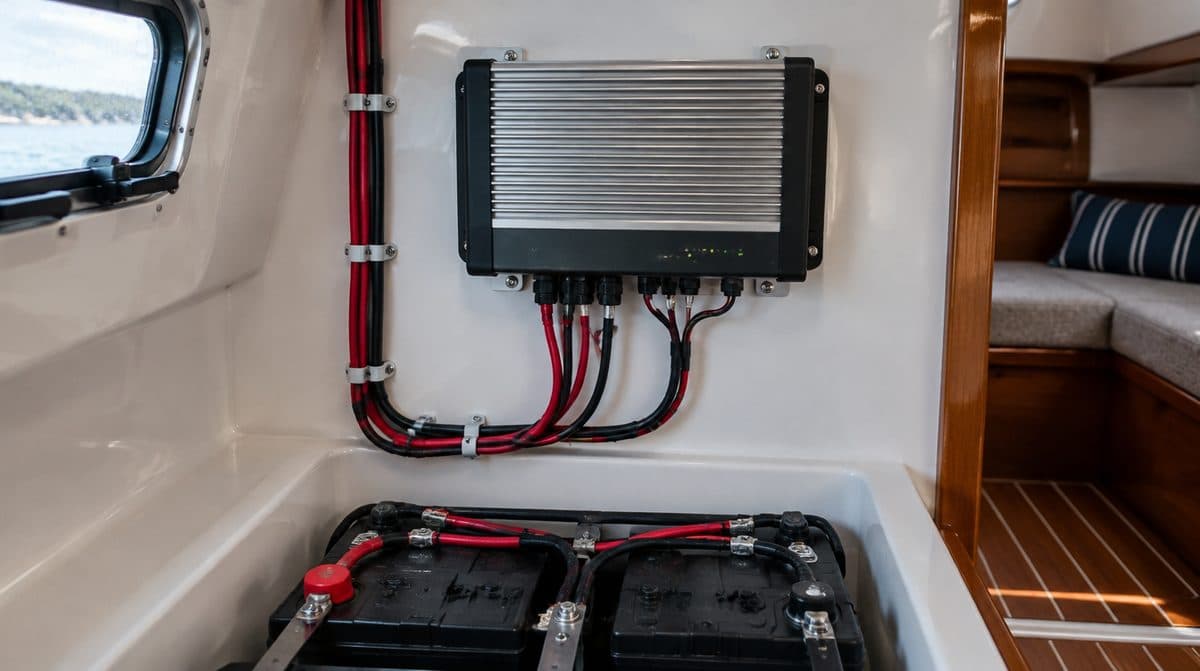 Buying Guides
October 18, 2026
The Onboard Charger: Cheap Insurance for Expensive Batteries
Batteries die young when they sit half-charged. How to size an onboard charger by amps, banks, and chemistry.
Read more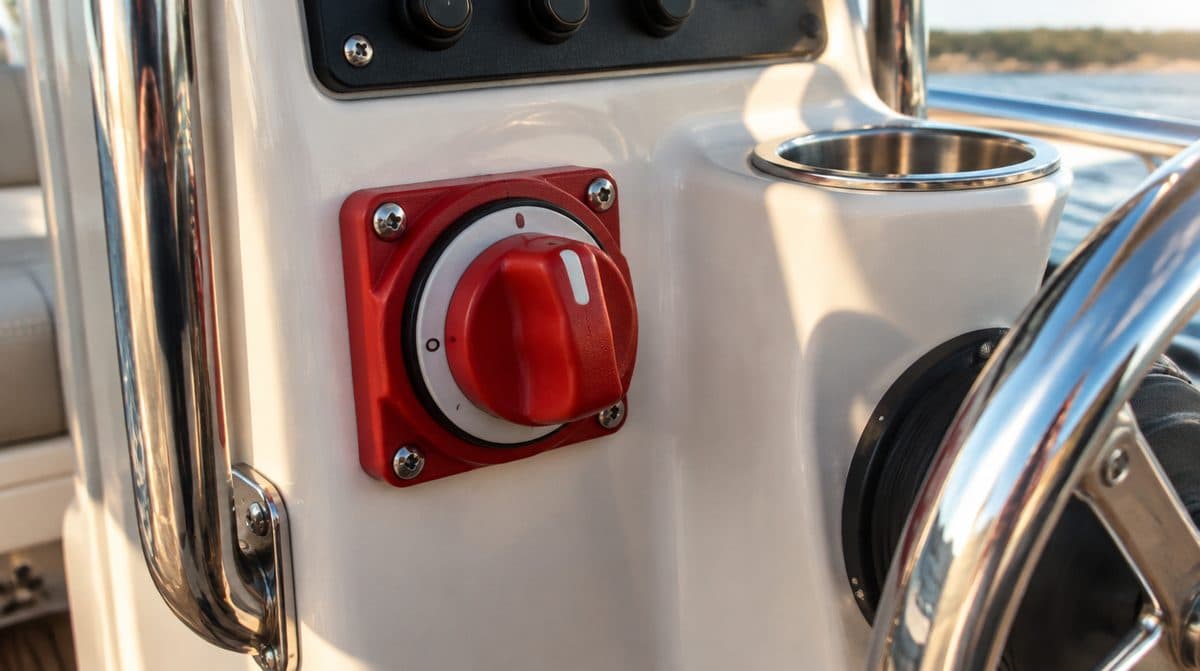 Buying Guides
October 18, 2026
Battery Switches and Isolators: Never Get Stranded by a Dead Battery
The switch and isolator setup that keeps your starting battery ready while the house bank runs your gear.
Read more