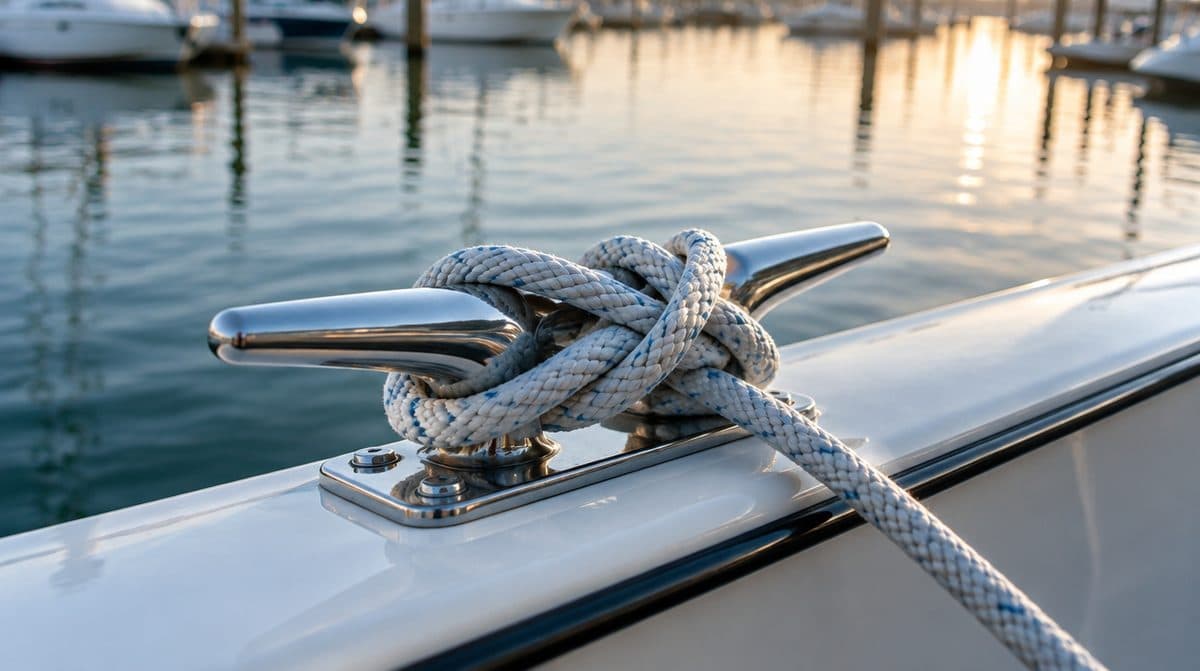
Boat Cleats: Small Hardware, Huge Loads
A cleat spends its whole life doing nothing until a storm asks it to hold your entire boat. How to size one to your dock lines, and why the mounting matters more than the metal.
Cleats are the most ignored hardware on a boat. They have no moving parts, they never beep at you, and they spend most of their lives doing nothing at all. Then a front rolls through the marina at two in the morning, the wind swings onto your beam, and that simple piece of metal is suddenly the only thing holding your whole boat against wind and surge. Undersized or poorly mounted cleats are a common failure point, and when a cleat lets go it rarely goes politely. It usually takes a chunk of deck with it.
How a cleat actually carries load
A dock line on a cleat does not pull with a steady, gentle tug. A boat surging on waves and wakes loads the line in jerks, and every jerk is a shock load that lands on the cleat's horns and fasteners. The horns act like levers: the line pulls at the tips, and the fasteners at the base take the prying force. That is why a cleat that feels comically overbuilt in your hand is often exactly right, and why the mounting matters at least as much as the cleat itself. A beautiful stainless cleat held down by two short screws is a deck repair waiting for its moment.
Size to your line
The working rule is about 1 inch of cleat length for every 1/16 inch of line diameter. Run the numbers on your own boat. Say your boat is 24 feet and you dock with 1/2 inch lines. A 1/2 inch line is 8/16 of an inch, so you want a cleat about 8 inches long. A smaller boat on 3/8 inch lines (that is 6/16) is happy on a 6 inch cleat. If you land between sizes, go up, not down.
The formula is the floor, not the ceiling. The practical test is whether the cleat can take a proper figure-eight with your dock line without crowding, ideally with room left for a second line. Sooner or later you will raft up with a friend, double your lines ahead of weather, or take a tow, and that second line has to land somewhere. Undersized cleats are hard to tie off cleanly, and under real load they can pull out.
Material
- Stainless steel: strong, polished, and corrosion resistant. The default for anything that lives in salt air, and the right call for the primary cleats your boat actually hangs on.
- Aluminum: lighter and economical. Fine for plenty of duties, especially on freshwater boats and on docks, though it oxidizes and goes chalky over time in salt.
- Nylon: budget material for light-duty use. Think dinghies, small trailer boats, and fender whips, not the bow cleat that holds you off the rocks.
Types
Standard horn cleats are the workhorse, and for good reason: nothing is simpler, stronger, or easier to use with cold wet hands. Pull-up and pop-up cleats keep a clean deck when not in use, which matters on boats where sheets, cast nets, or bare feet move across the foredeck. The tradeoff is more parts and more places for corrosion to hide, so rinse them and work them through their travel now and then. Flip-up and fold-down cleats do the same job on the dock side, folding flat so nobody stubs a toe walking an empty slip. Portable rail and track cleats let you add a tie-off point where the builder never thought to put one, which is handy for fenders and spring lines.
Mounting is most of the job
Through-bolt cleats with a backing plate, never just screw them into the deck. The load from a surging boat is enormous and screws tear out. A proper backing plate (stainless, aluminum, or a solid composite block) spreads the load across the underside of the deck instead of letting bolt heads crush into the laminate. A stack of fender washers is better than nothing, but it is not a backing plate.
If your deck is cored, protect the core. Drill oversize, fill the holes with thickened epoxy, then redrill through the cured epoxy so any water that sneaks past the sealant meets plastic instead of balsa. Bed the cleat in marine sealant, snug the bolts evenly, and align the cleat with the expected direction of pull so the load runs along the horns instead of twisting the base.
Mistakes to avoid
- Sizing the cleat to the boat instead of the line. The line diameter is what has to fit.
- Trusting the builder. Plenty of production boats ship with cleats a size smaller than the dock lines their owners actually use.
- Having too few. A bow and stern cleat on each side is the bare minimum; midship cleats for spring lines are what actually stop a boat from surging fore and aft in the slip.
- Ignoring chafe. A cleat is only as strong as the line on it, and a line sawing over a rough edge all season is quietly getting weaker.
A cleat holds the boat to the dock, but it does not keep the hull off the dock. That job belongs to your fenders, which have their own sizing rules; we cover them in our boat fender guide.
Signs it is time to replace
Wiggle every cleat by hand once a season. Any movement at all means the bedding has failed, the holes have elongated, or the backing has crushed, and the cleat needs to come off and be rebedded before it gets worse. Look for spider cracks in the gelcoat radiating from the base, bent or drooping horns, and deep pitting on cheap castings. Brown streaks weeping out from under the base mean water is getting in and rust is coming out, which is your invitation to pull it today instead of next spring.
From the Water
Learn the proper cleat hitch: a full turn, a figure eight, and a locking turn. It holds tight and still releases under load. Practice it until your hands can do it without your brain, because eventually you will be tying one in the dark with the wind building. And skip the extra wraps; a pile of turns does not add security, it just jams solid exactly when you need to cast off in a hurry.
Where to Get It
Everything in this guide is stocked at Boat Supplies Direct, the Nautical Network marine parts store.
In stock as this guide goes up: - Sea-Dog Smart Cleat 6" Deck Mount, Investment Cast 316 Stainless Steel - Attwood Neat Cleat Stainless Steel 6" - Dock Edge Flip-Up Dock Cleat 8", Black
Browse the full range: - Shop cleats - Read the full buying guide, including FAQs
More from the Wire
 Buying Guides
October 18, 2026
Starting vs. Deep Cycle: The Battery Mistake That Strands Boaters
Starting, deep cycle, or dual purpose, and flooded, AGM, or lithium. How to pick the battery type that will not leave you stranded.
Read more Buying Guides
October 18, 2026
The Onboard Charger: Cheap Insurance for Expensive Batteries
Batteries die young when they sit half-charged. How to size an onboard charger by amps, banks, and chemistry.
Read more Buying Guides
October 18, 2026
Battery Switches and Isolators: Never Get Stranded by a Dead Battery
The switch and isolator setup that keeps your starting battery ready while the house bank runs your gear.
Read more